Roller blinds are a popular and versatile window covering option, ideal for adding style and functionality to any home.
This guide provides detailed instructions on how to mount your roller blinds, ensuring they’re perfectly secure for your window. Aiming for more light control or just want to add a decorative touch? We’ll explain the complete blind installation process, helping you transform your living space.
Step 1: Gather the necessary tools and materials
Before beginning the installation, it’s important to have all the necessary tools and materials at hand. These include:
- Tape measure
- Pencil
- Drill and drill bit
- Screwdriver (optional)
- Screws provided with the blinds
- Roller blinds
- Ladder (optional, if dealing with larger blinds)
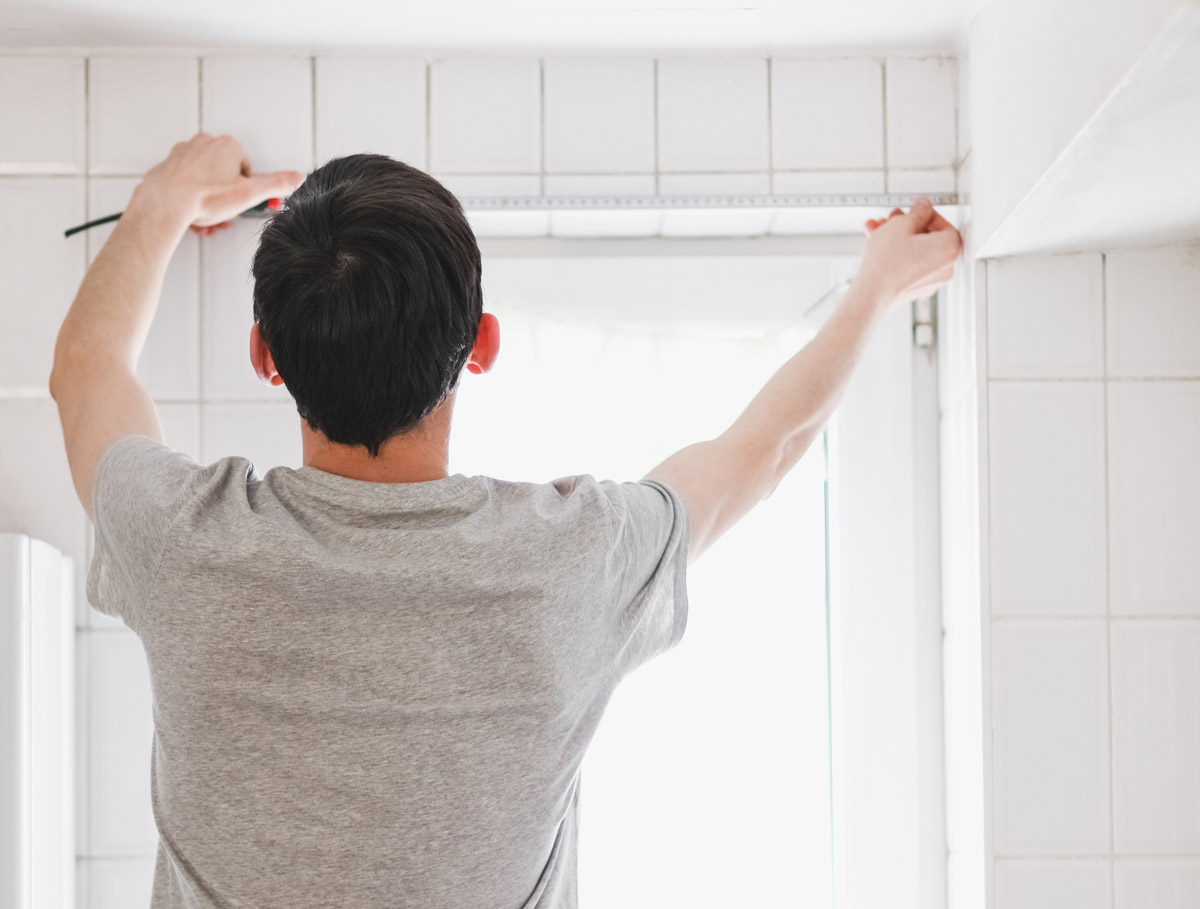
Step 2: Measure the window
Proper measuring is key to ensuring your roller blinds fit perfectly for your window. Use a tape measure to record the window width, making sure that your blind size is a good fit for your window frame.
Step 3: Mark the position for blind brackets
Decide if you’ll go for a top fix (attaching to the ceiling of the window recess, or outside fit) or a face fix (mounting onto the wall above the window, or inside fit). Measure and mark the position where you will attach your blind brackets using a pencil, evenly aligning them in or above the window frame. Note that you should not screw directly into a frame of a vinyl window, so an inside fit is better suited for a wooden frame.
Step 4: Install the brackets
Once the bracket positions are marked, drill pilot holes at these spots to help guide the screws and prevent damage to your walls. Secure the brackets by fastening them into these two screw holes. Make sure the brackets are firmly mounted to provide adequate support, especially for large blinds.
Step 5: Attach the roller blind
Start installing the roller blind. Slide the control end, or the chain end, into one bracket (male bracket). Then, insert the pin end into the other bracket (female bracket). Ensure that the blind chain is untangled and will hang correctly.
Step 6: Test and adjust
Once it’s installed, roll the blind to floor level and raise it again to test its movement and functionality. If the blind does not move smoothly or hangs unevenly, try adjusting the tension. Also, check the position of the chain stopper and bottom rail to ensure they operate correctly and safely.
Step 7: Finishing touches
nstall any bracket covers for a polished look, making sure the front edge of the blind is parallel to the window. Secure the loose cord to the window frame using a safety bracket for pet and child safety.
Additional installation tips
Pre-installation preparation:
Before beginning, clear the window area and lay down a cloth to catch any debris. This preparation helps protect your floor and makes cleanup easier.
Choosing the right drill bit:
When drilling, use a drill bit that is slightly smaller than your screws.
Avoiding common mistakes:
Make sure you don’t drill a hole too close to your windows since this can weaken the wall or frame. Also, don’t tighten the screws too much, as this can strip the threads or damage the brackets.
Post-installation checks:
After installation, inspect the blinds for any sagging or misalignment. It’s easier to make small adjustments immediately than to correct issues after prolonged use